Autumn baking and a little painting

Autumn has always been my favourite season, however, since Mr H started work at a boarding school I don’t love it quite so much. He only has Sundays off during term time and in the autumn and winter, it doesn’t feel enough time. I do, however, love the change of seasons and the move to comforting cooking: rich stews, roasted game and autumn fruits.

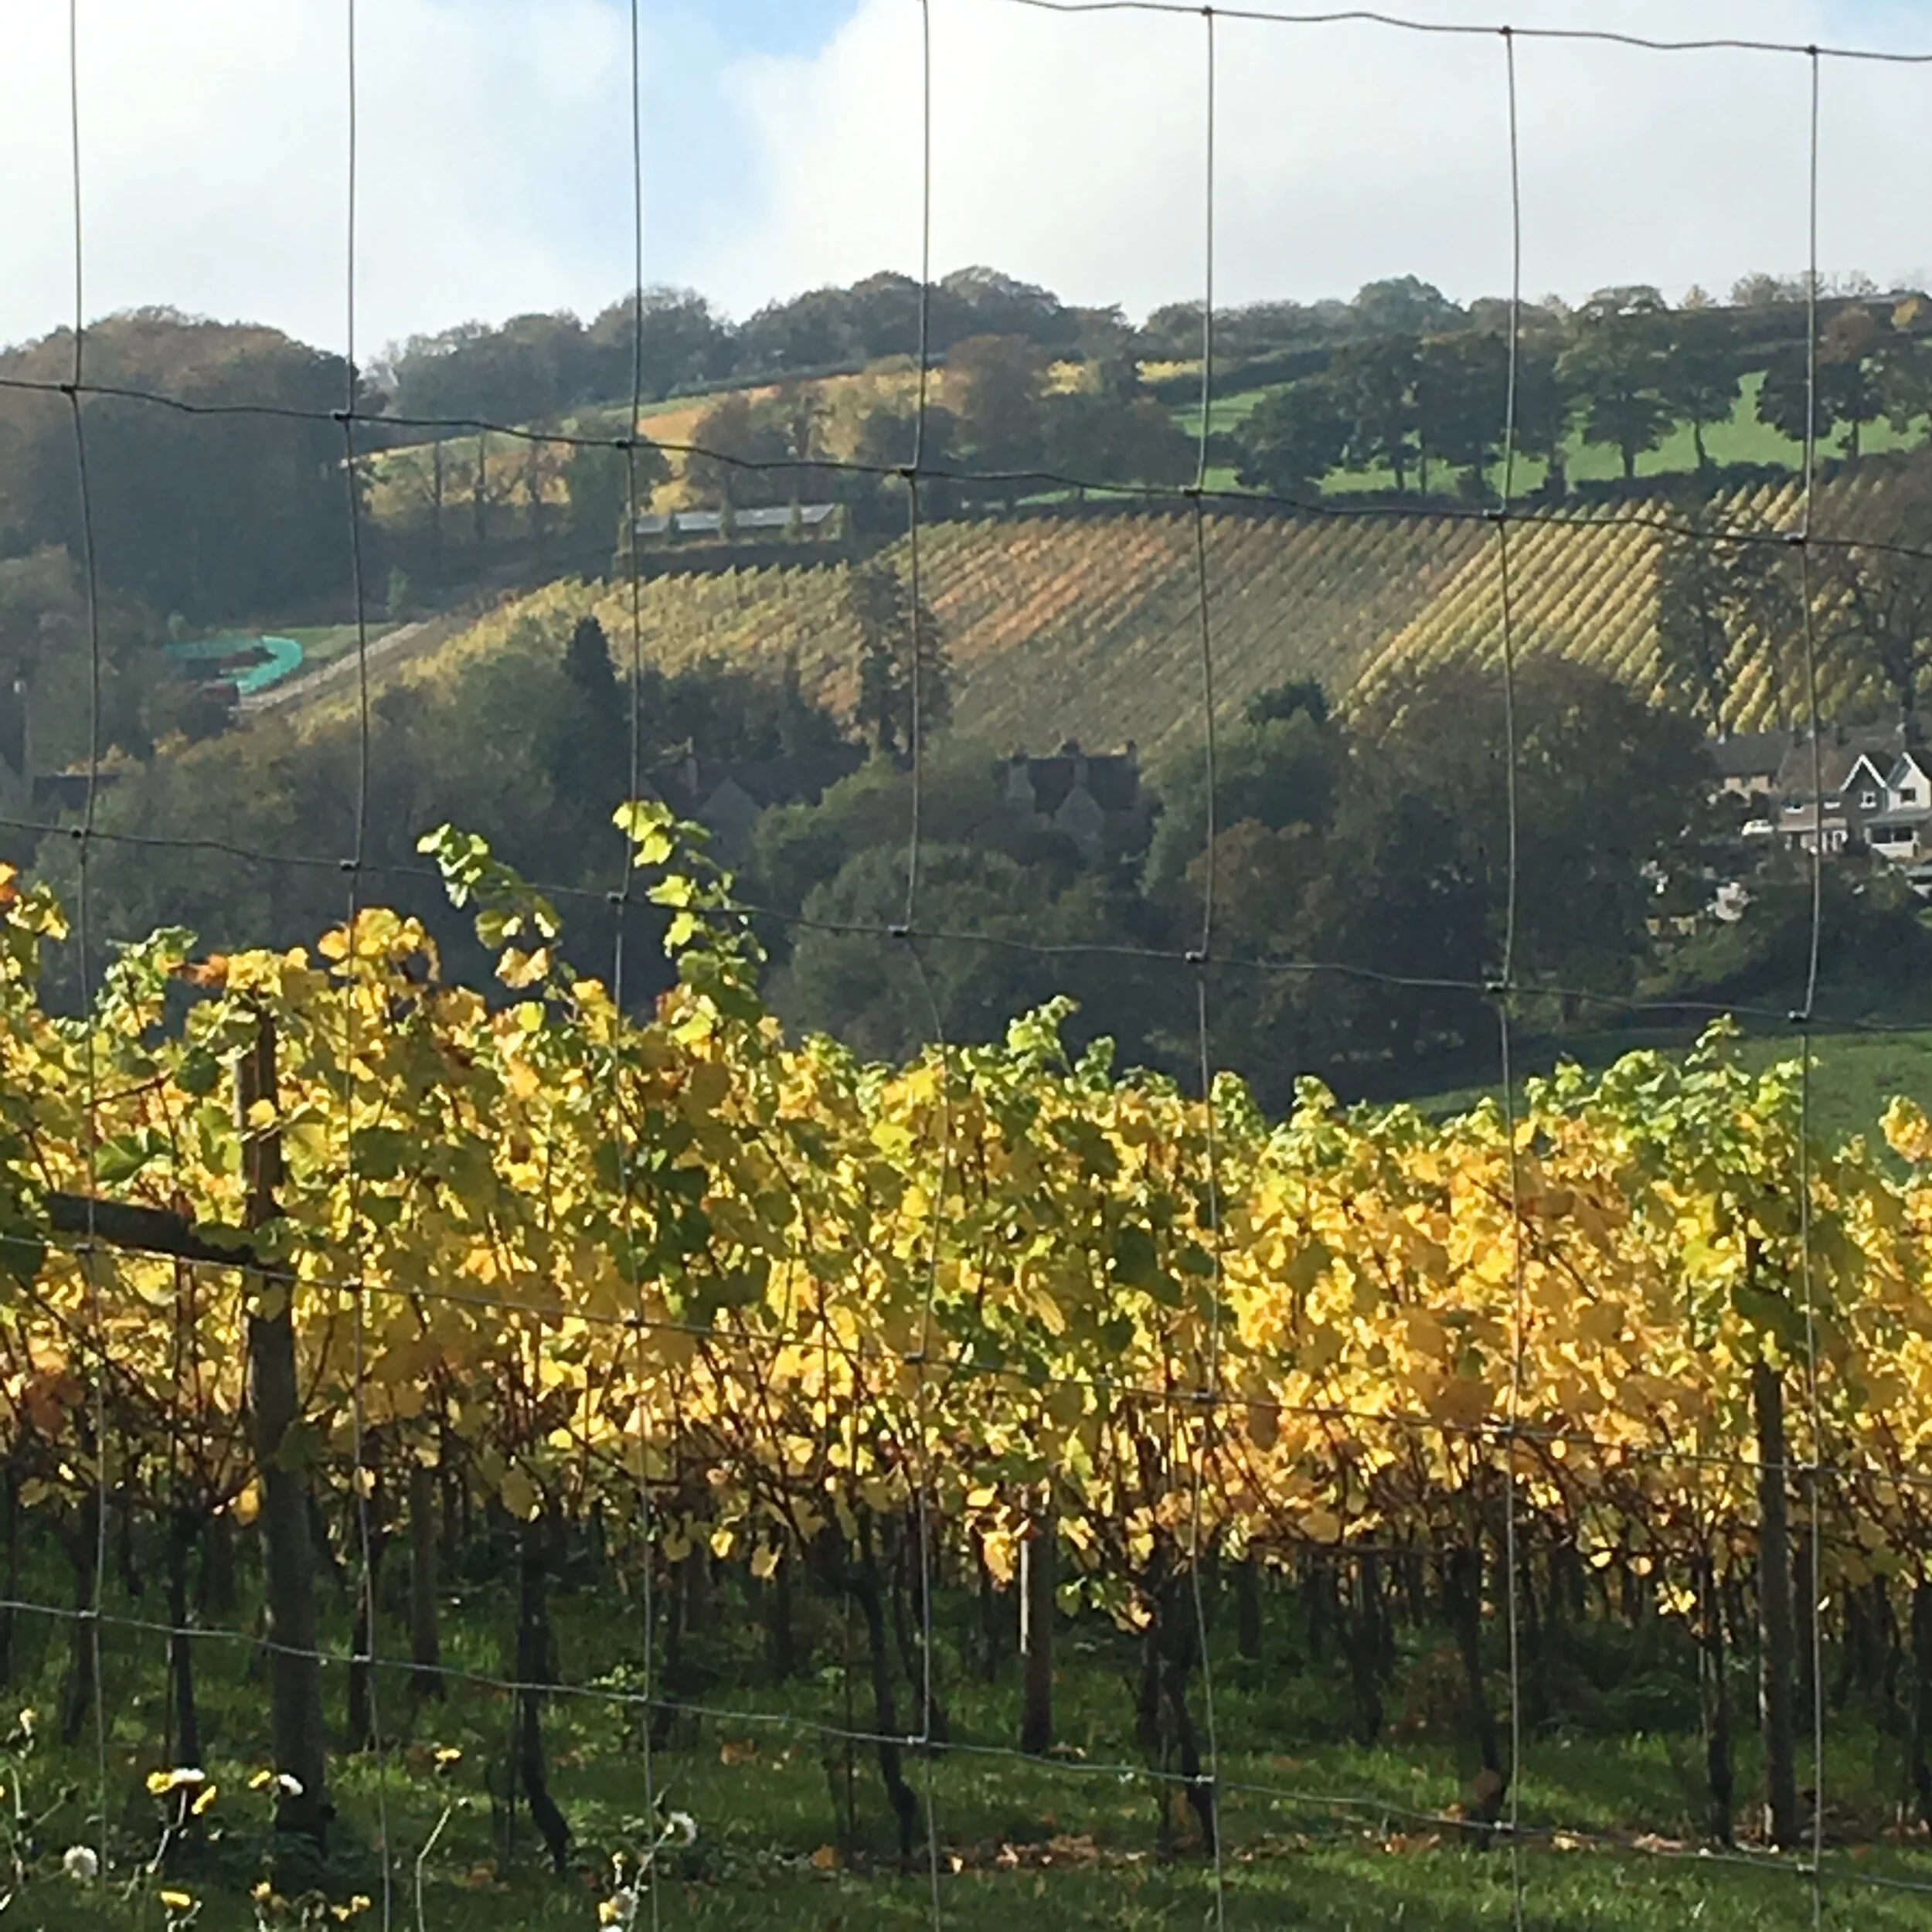
I love crisp walks through the vineyard below us and the smell of wood smoke in the village. I often try to get a bit ahead for the week on a Sunday, which inevitably means a little batch cooking and some baking; maybe including my favourite autumnal cake, (see below).

IMG_7502.JPG
IMG_7471.jpg
IMG_5787.JPG

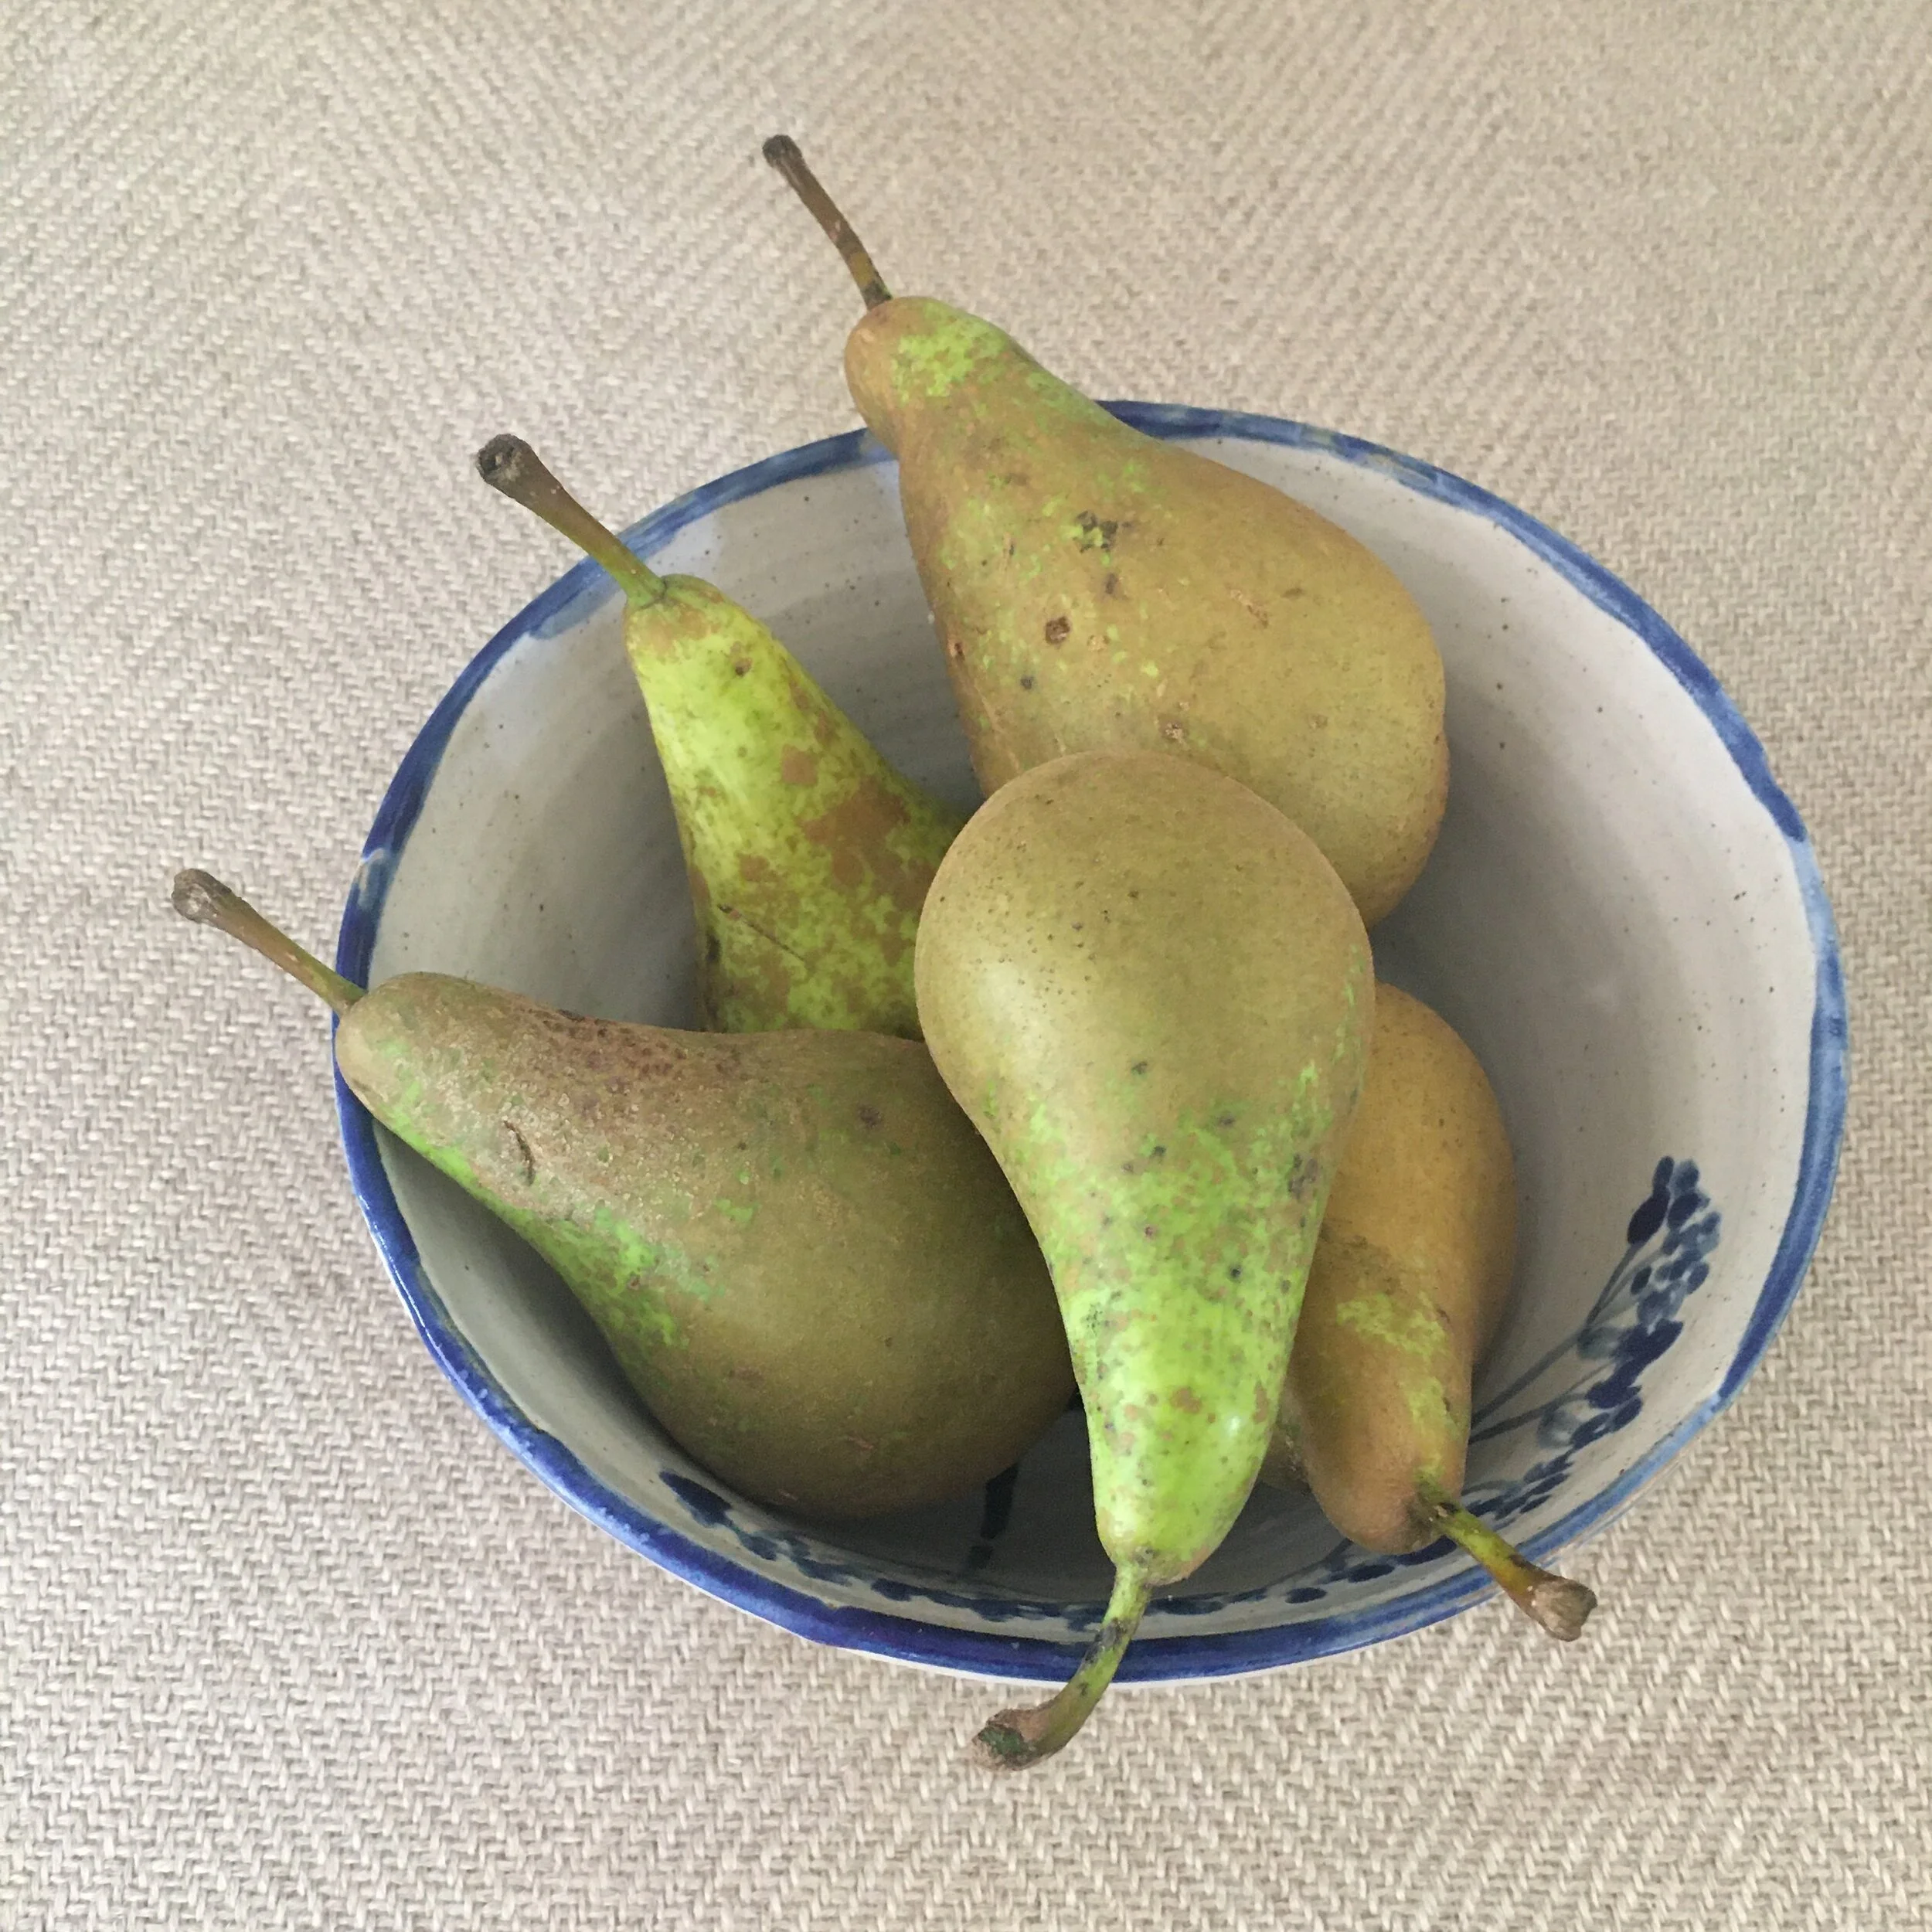
It seems this year has been a super year for pears and apples. The pear tree in my dad’s garden has been really prolific and we have had loads of slightly overripe pears to contend with. Pears always seem rather tricky to grow and some years they seem to bear fruit better than others. I’ve always hankered after an espaliered pear tree in the garden.

IMG_0666.jpg

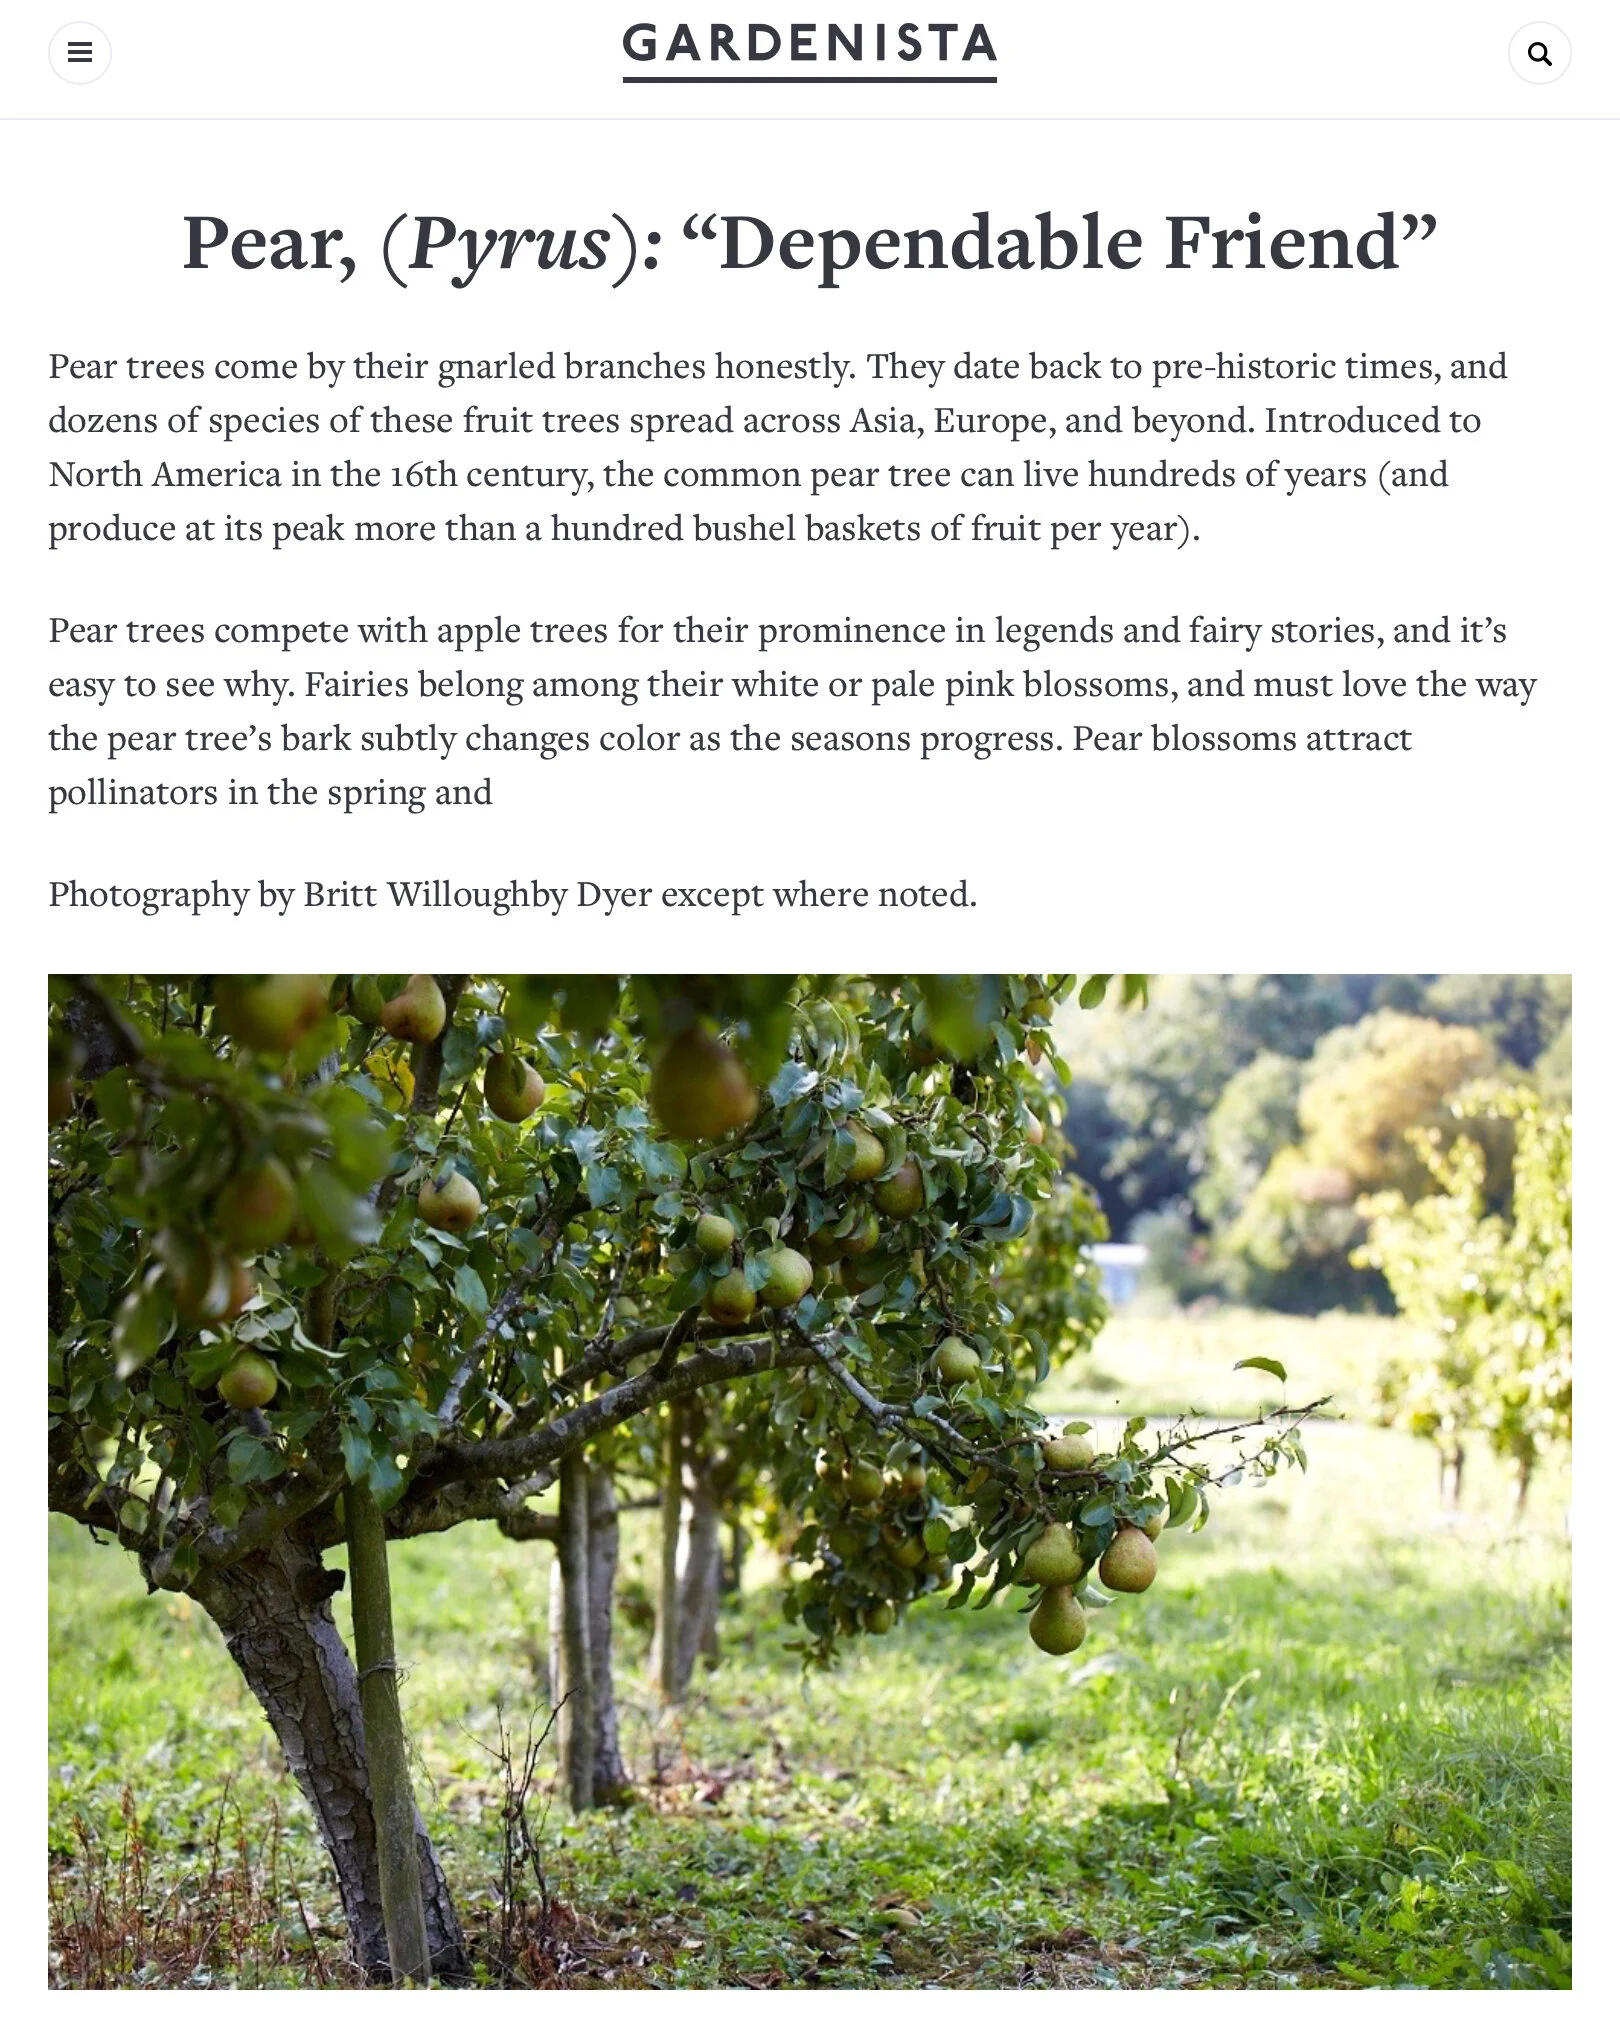
This lovely article in Gardenista magazine is packed with information about growing pears, including a cheat sheet, how to pick and store pears and companion planting. It is accompanied by some stunning photography.

Pear blossom is utterly stunning and if you are ever in Herefordshire at blossom time seek out a Perry or cider apple orchard, the scent and sight is something to behold.

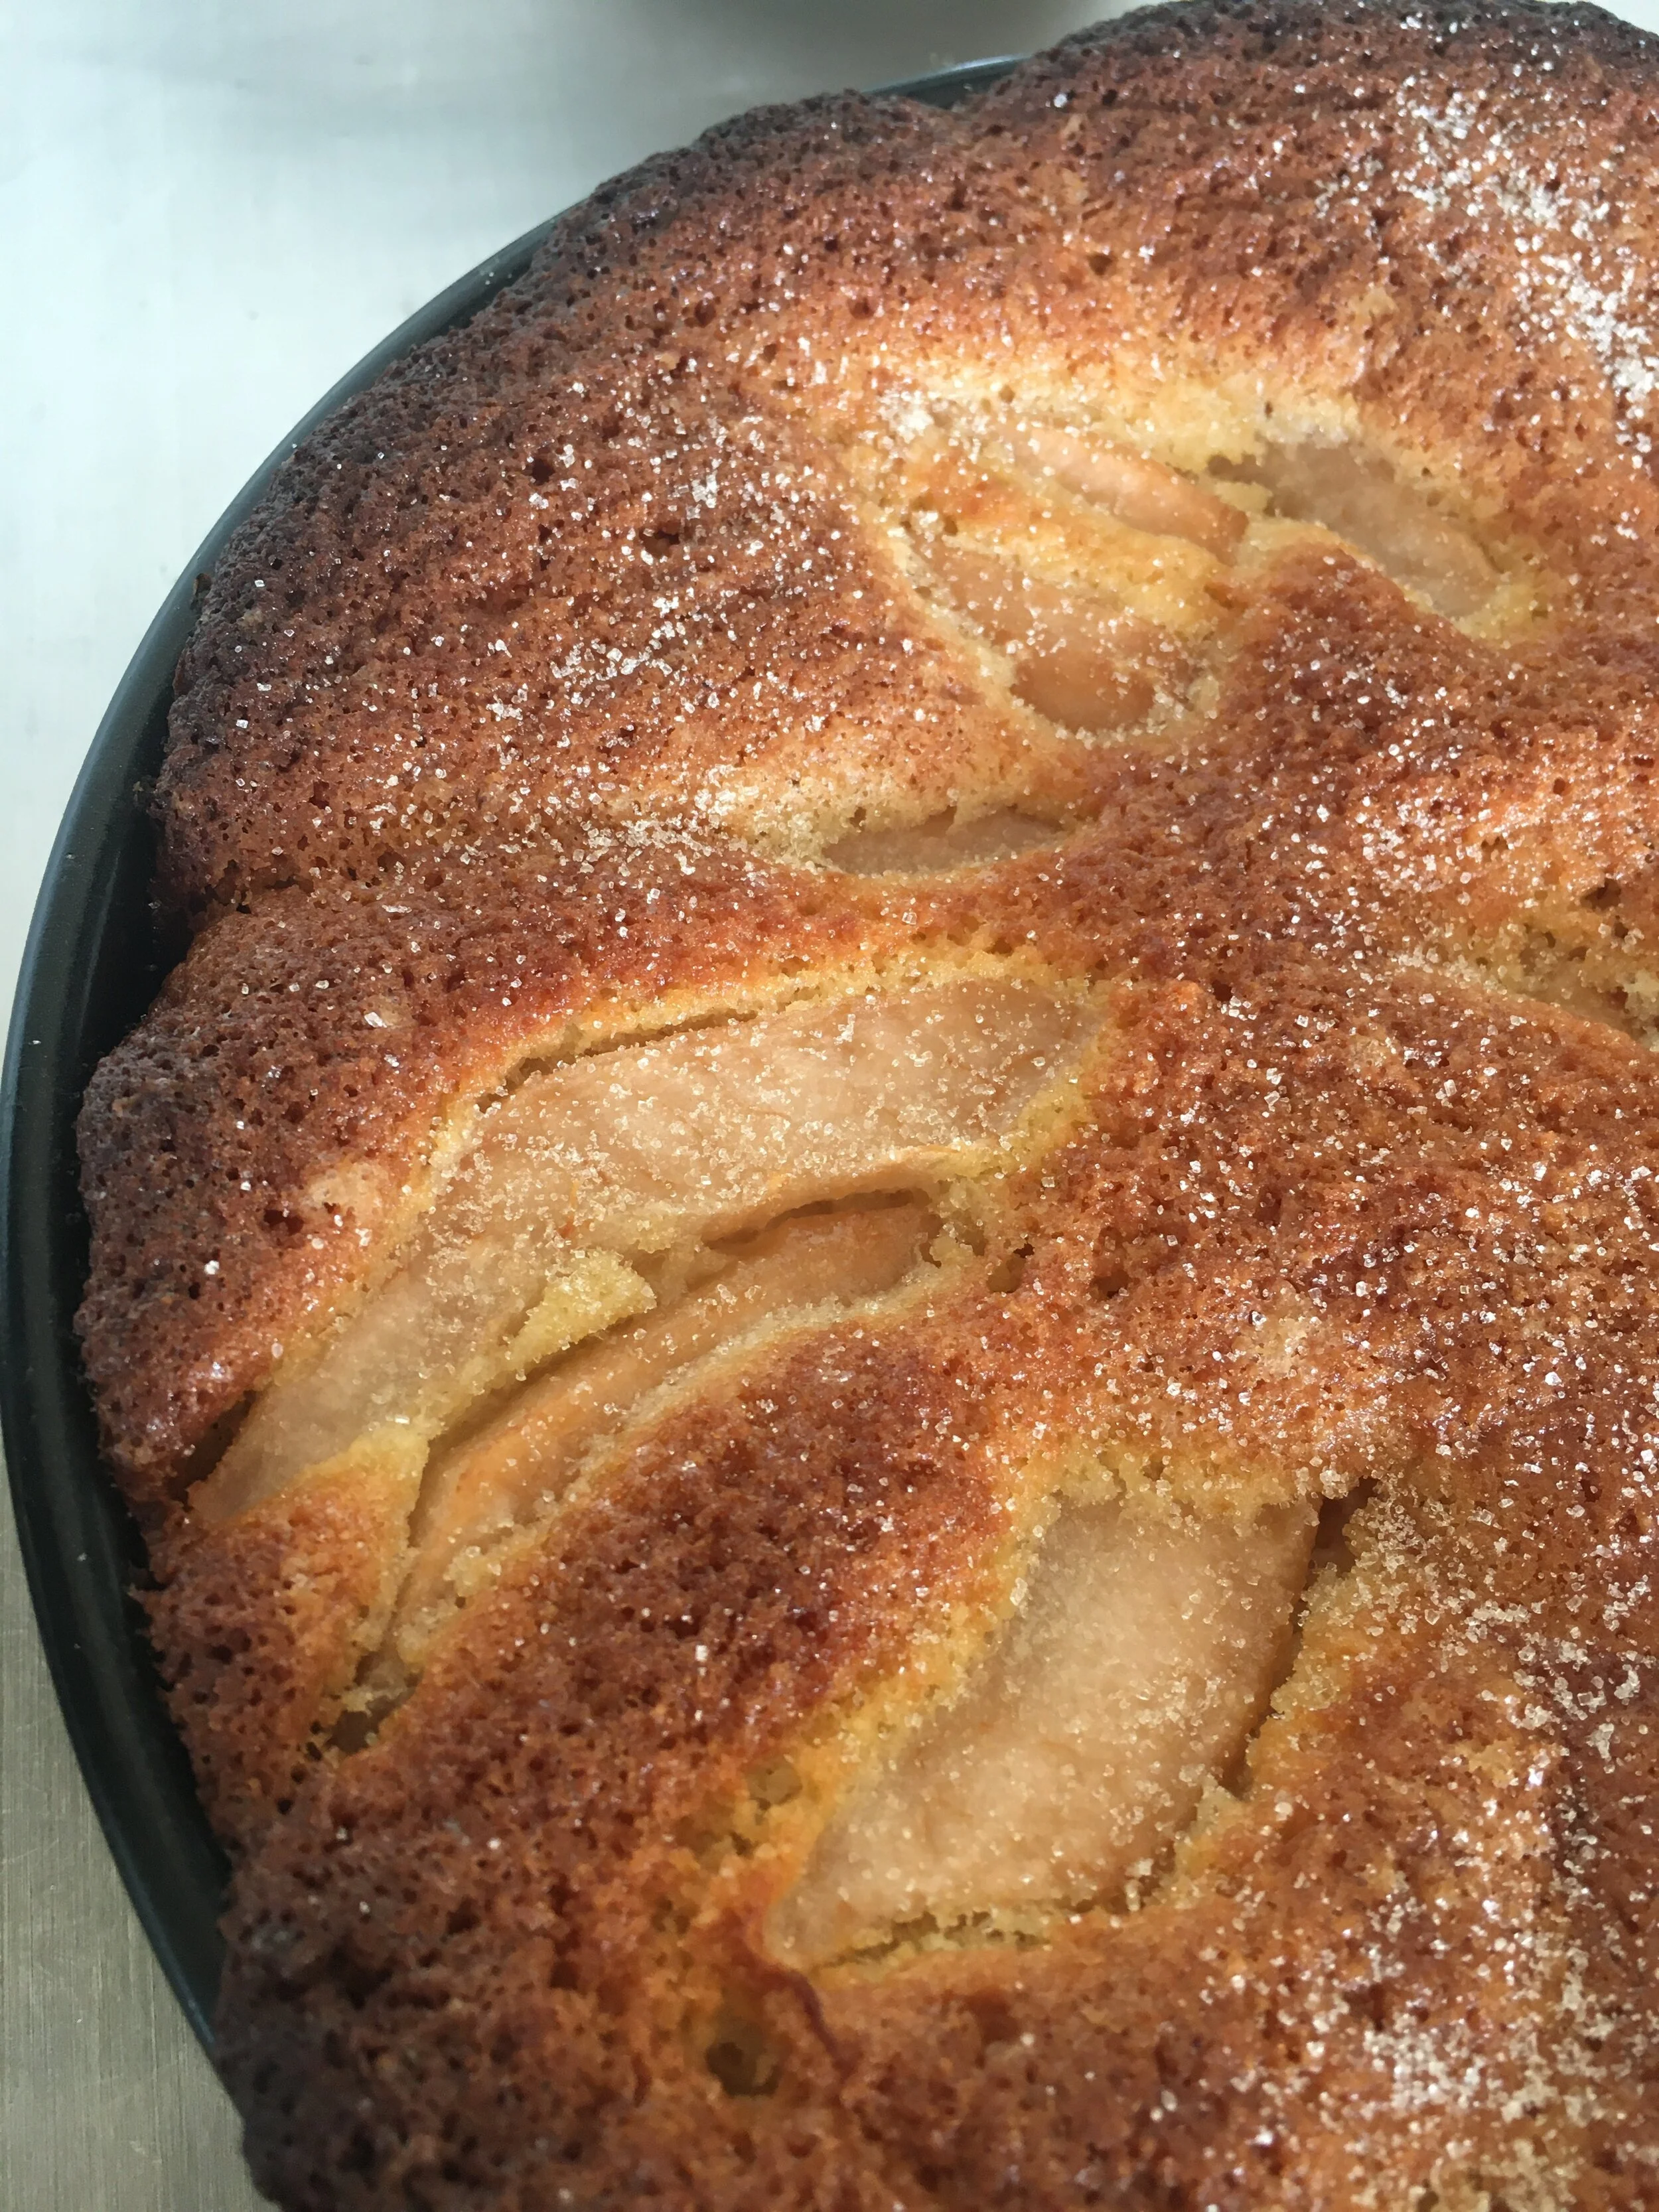
RECIPE FOR PEAR AND ALMOND CAKE .

Pear and almond cake always reminds me of those gorgeous pear frangipane tarts you get in France. This is a super easy take on that lovely recipe but as a cake. it’s delicious served with a dollop of creme fraiche as a warm pudding and equally lovely cold with a cup of tea. This is a really well-behaved cake; you can swap the pears for apricots, or halved plums and it will be equally delicious.

IMG_5554.JPG

Ingredients:

140g butter or baking marg

140g golden caster sugar

2 large eggs

110g self raising flour

30g ground almonds

1 heaped dessertspoon greek yoghurt

a couple of drops of almond extract.

a couple of pears peeled and sliced into thick slices. (about a finger thick)

Method

Beat the butter and sugar till light and fluffy and add the eggs one at a time.

Mix in the yoghurt and almond extract. Gently fold in the flour and almonds. Don’t beat it in vigorously or it will be a heavy sponge; a light hand is the key to a lovely tender sponge.

Tip the mix into an 8” loose bottom cake tin and place the pear slices on top of the mix like the spokes of a bicycle wheel.

Bake in a preheated oven 180 degrees till golden and cooked. (Every oven is different so I can’t be exact but in my Everhot, it takes about 20minutes.)

I often bring back little sachets of vanilla sugar from France and I sprinkle a little of this on when it comes out of the oven, for no other reason than the smell makes me feel like I am in the patisserie queue in France!


IMG_5793.JPG
IMG_5792.JPG

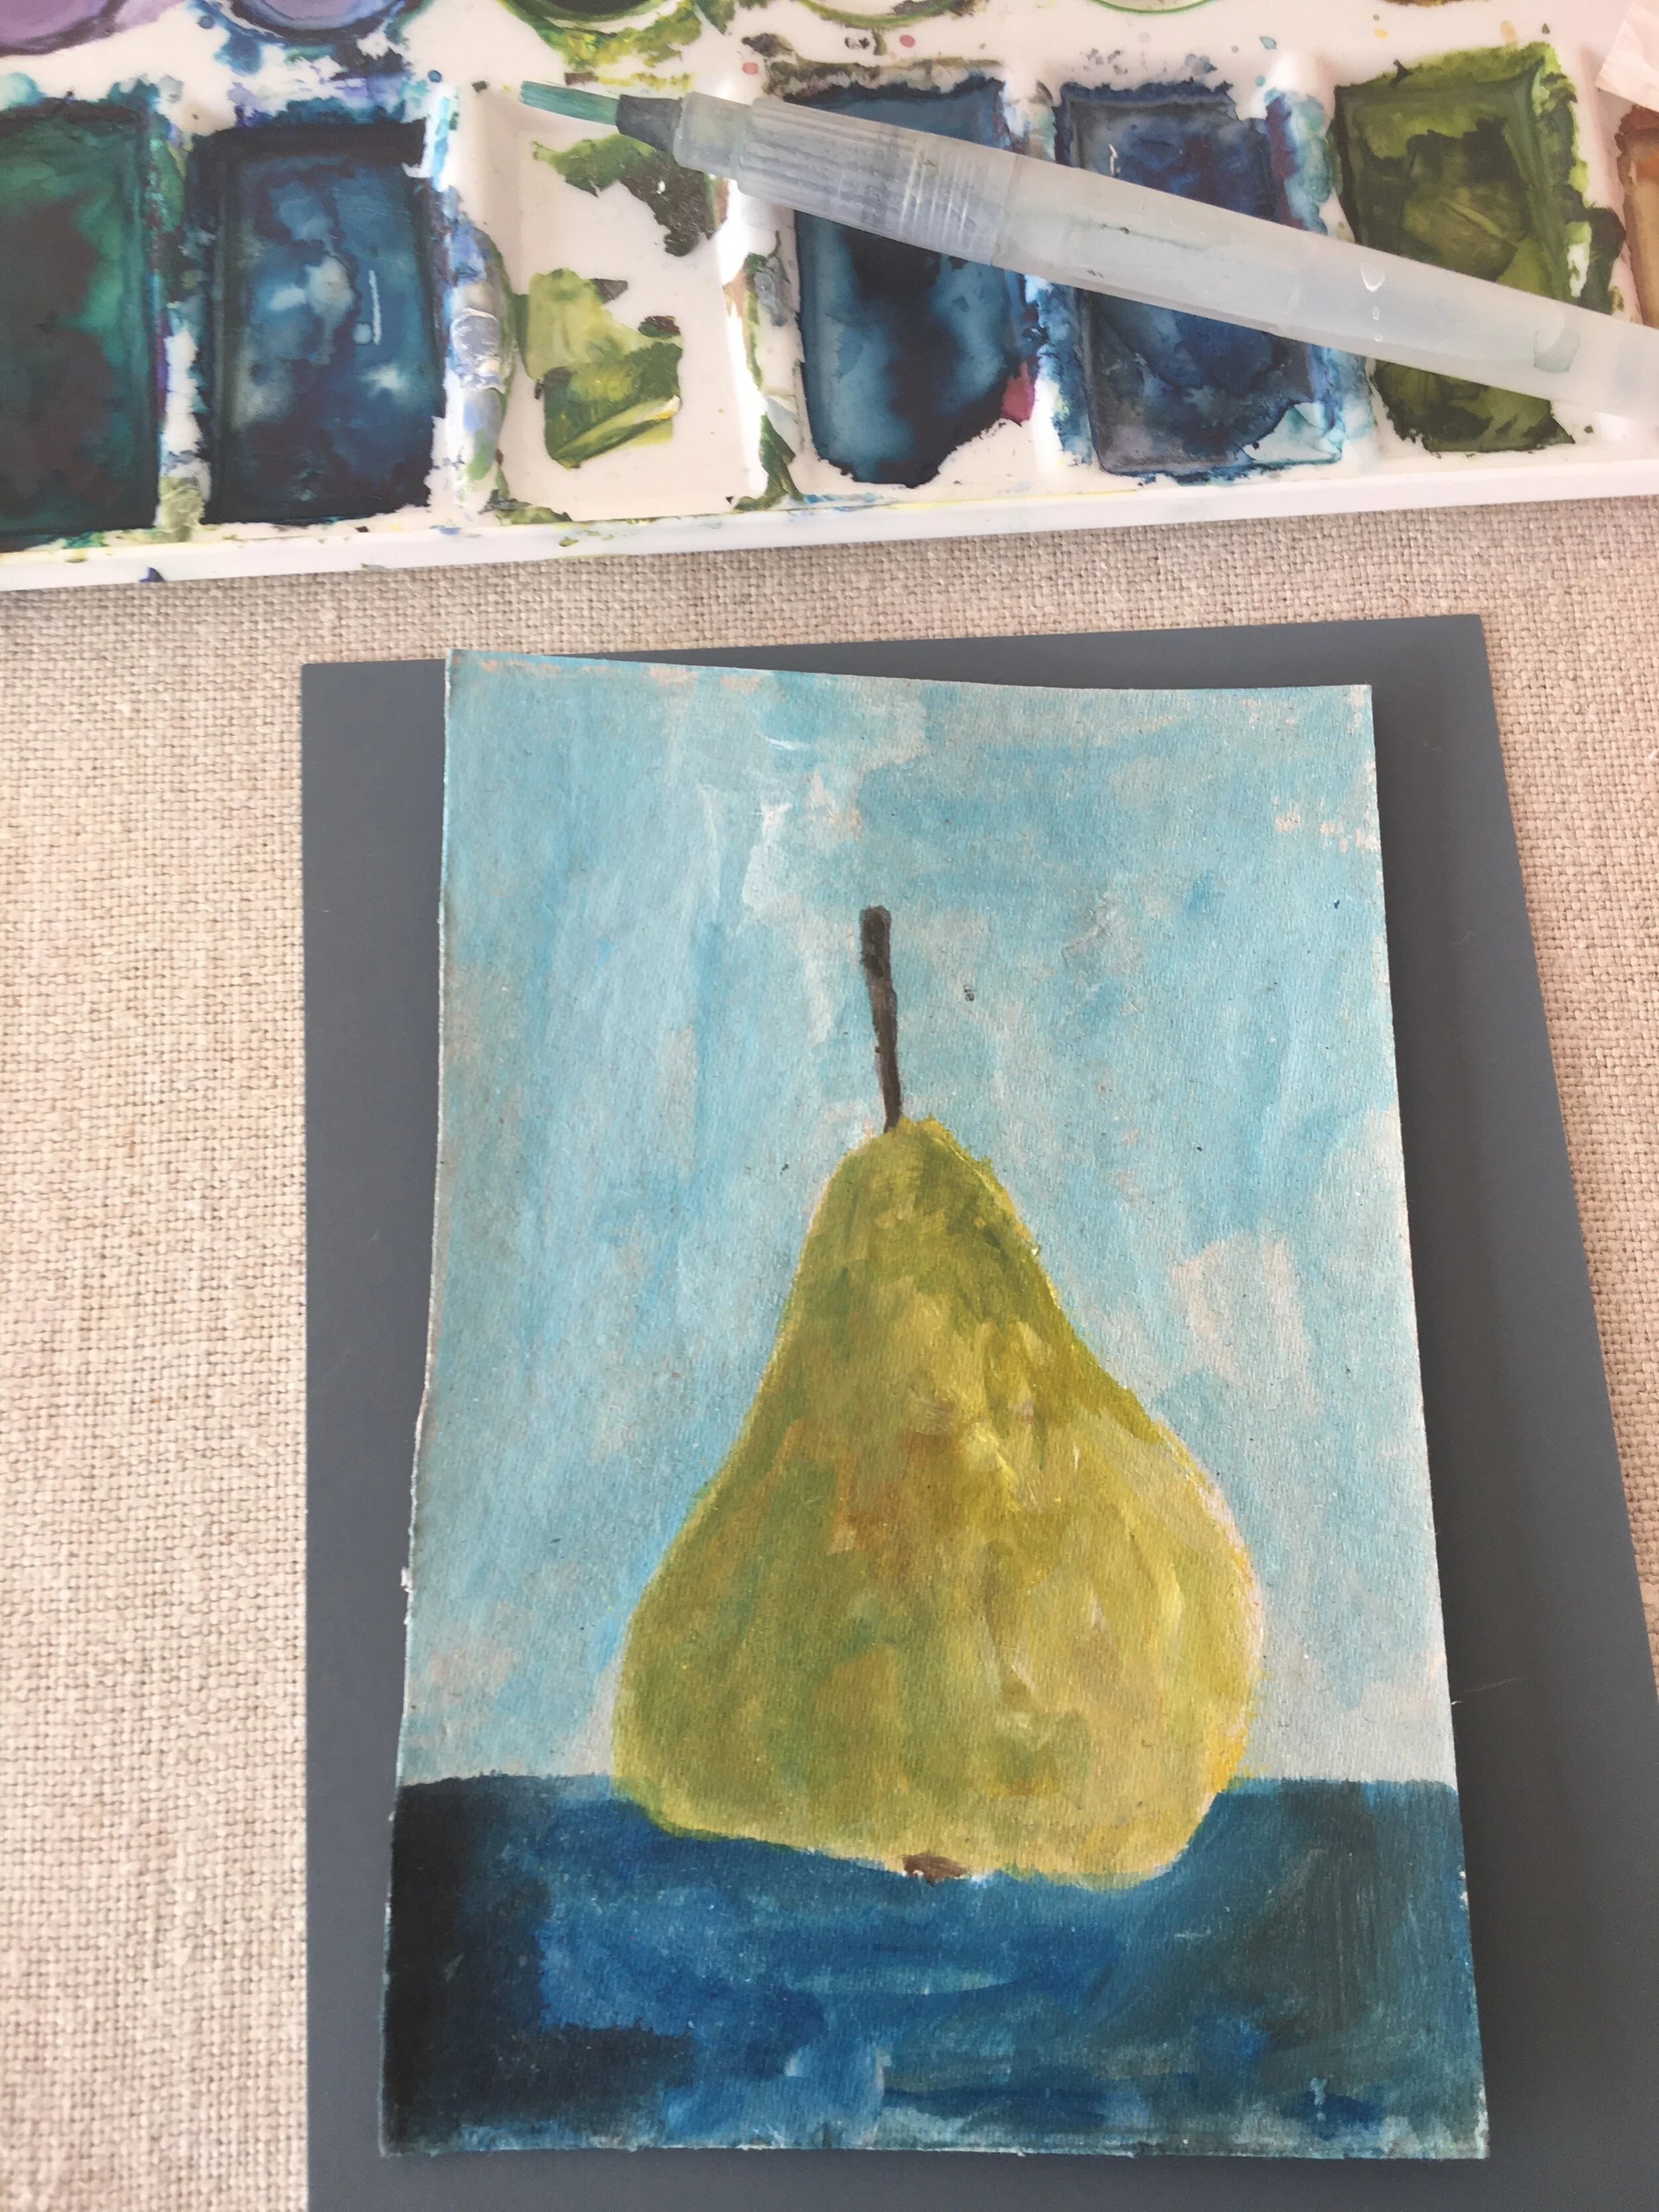
There is something particularly pleasing about the shape of pears; they are one of my favourite things to draw and also a really nice thing to draw or paint if you are just getting into art as a hobby. I wanted to practise painting with acrylics which was a medium I wasn’t really comfortable with so it was a pear that I did first.

IMG_5640.JPG

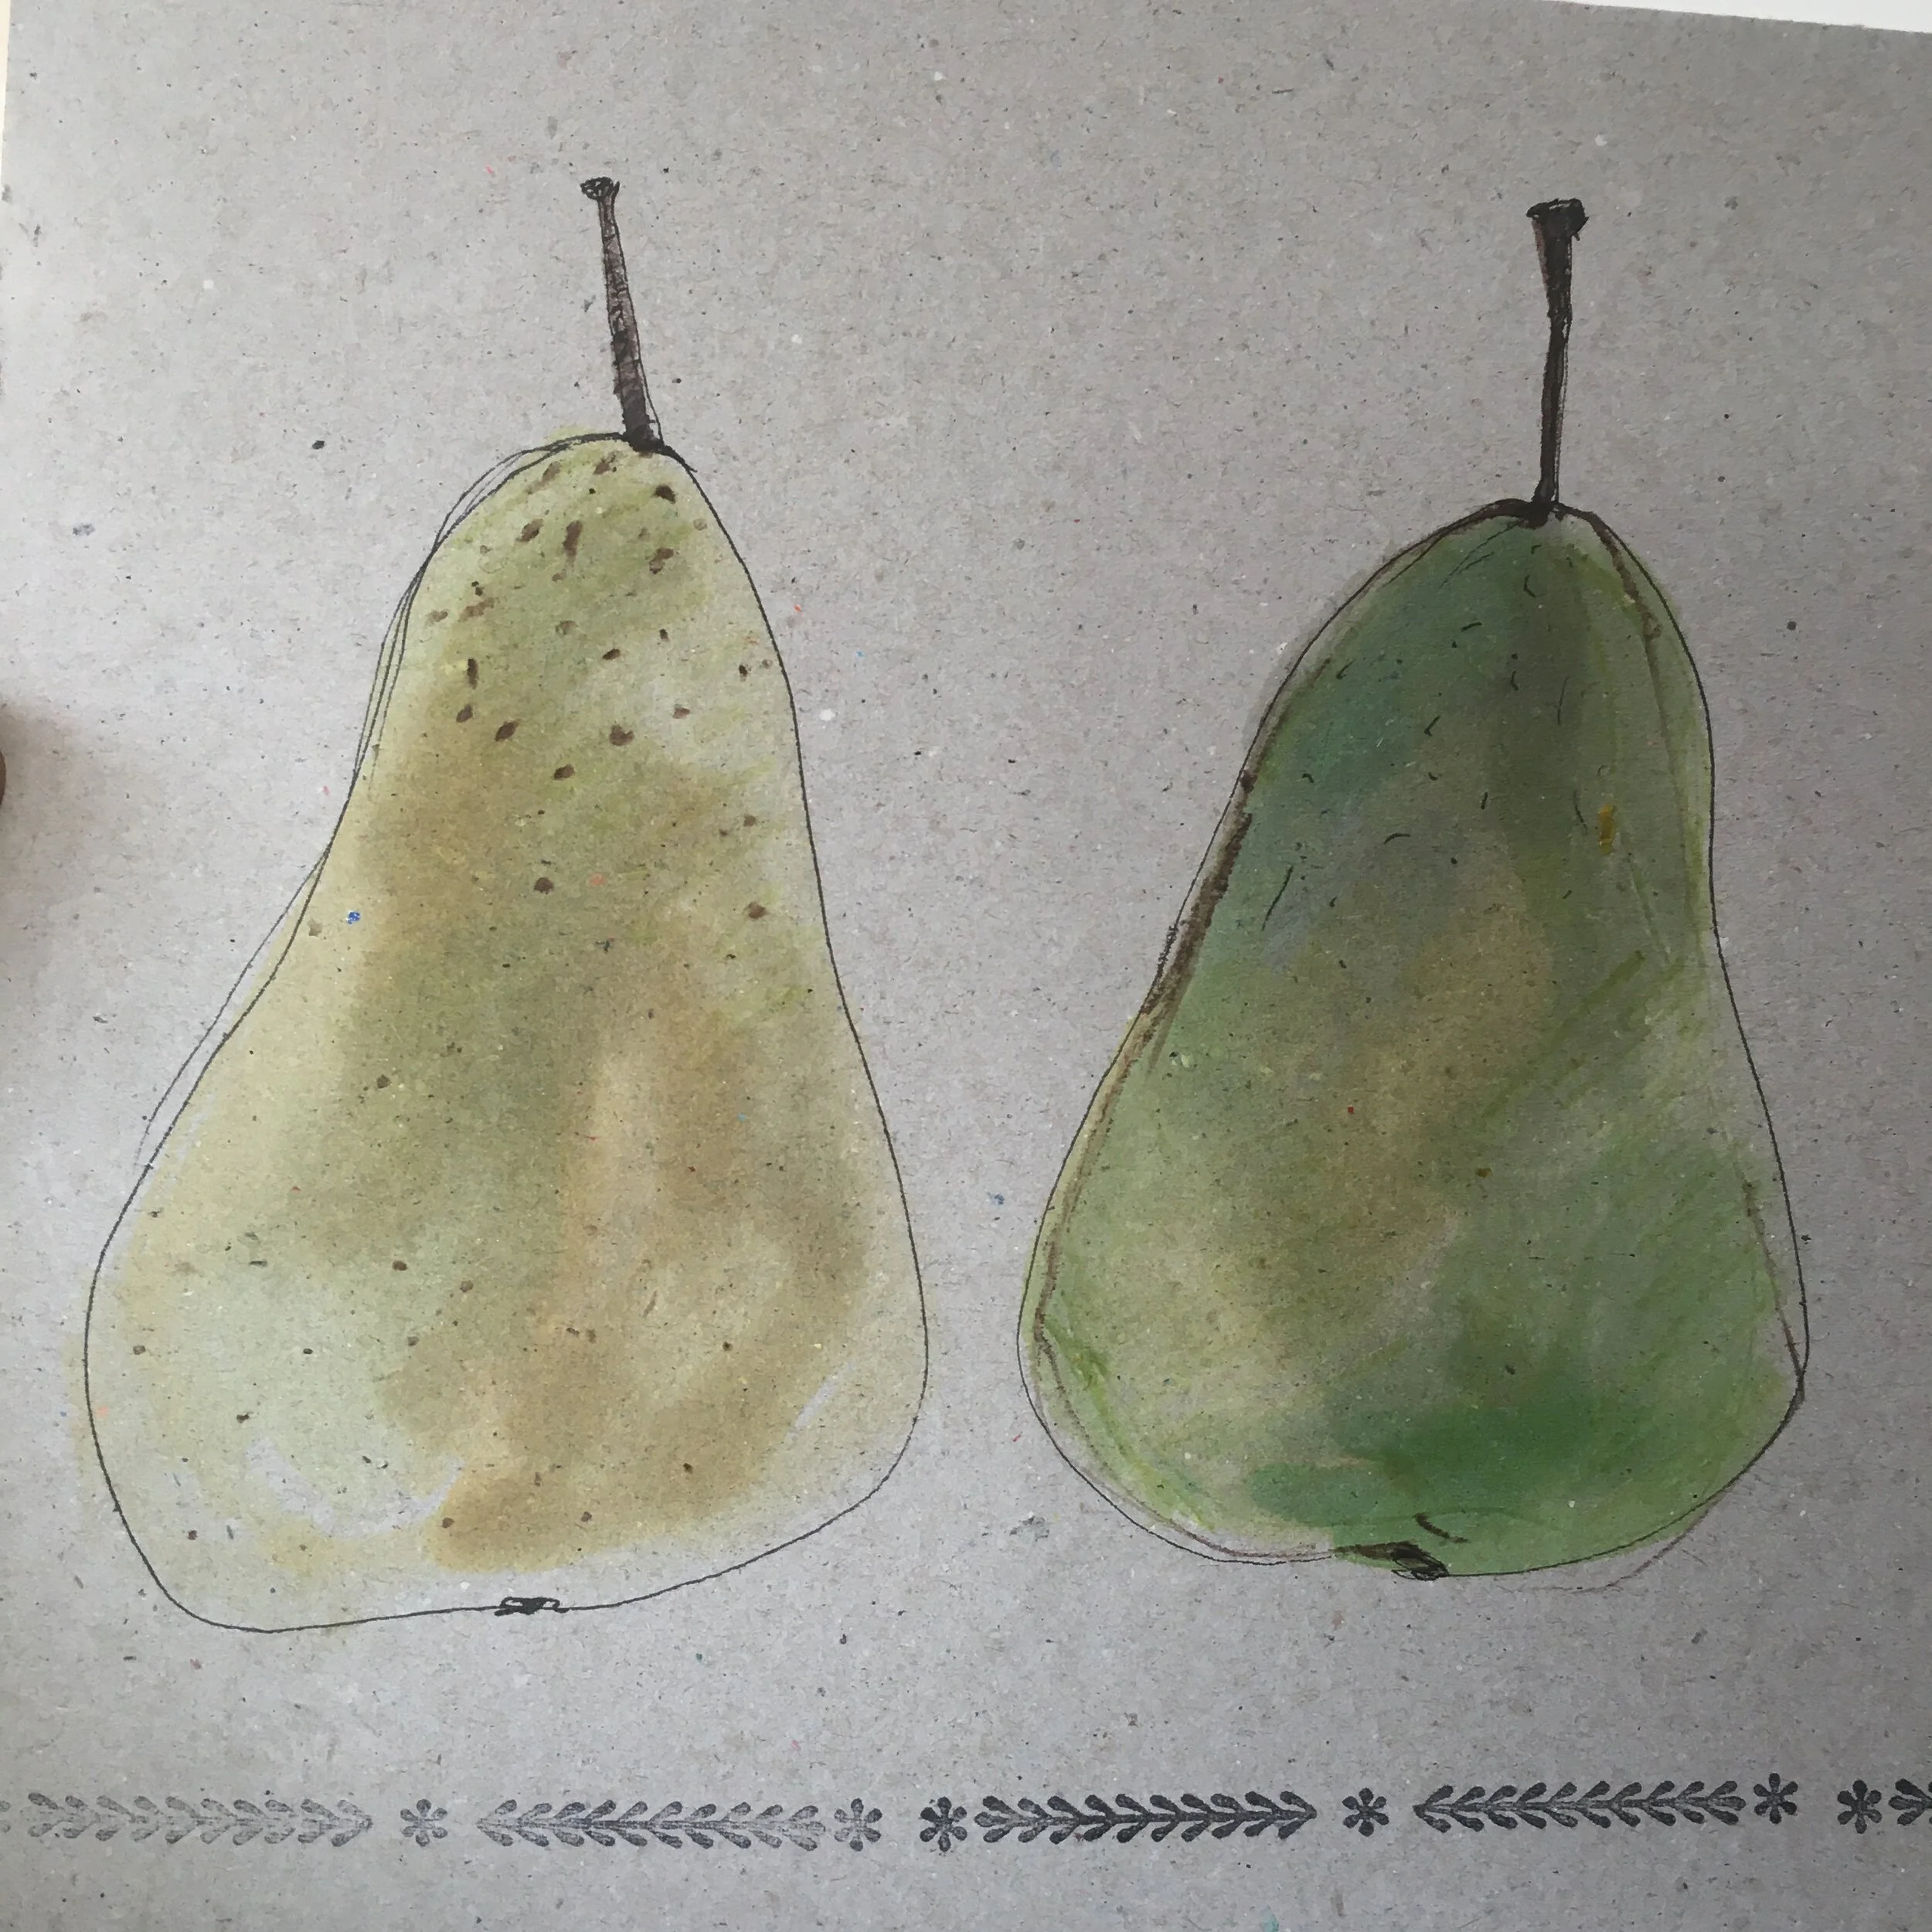
I really like mixing up my art materials too , you don’t have to be wedded to one medium for an entire picture, these pears are done with a mix of watercolour, ink, coloured pencil and finaliser pen. I do think art as a hobby is all about enjoyment and freedom.

Whatever you are up to this weekend, whether its a crispy autumnal walk or some baking or art and craft, I hope you have a lovely peaceful weekend.


Making nostalgic biscuits

Fondly known as ‘Daddy biscuits’ in our house, these biscuits are filled with nostalgic memories for our family. My husband’s mother always had a tin of them on the go, on family camping holidays; a tradition all 4 siblings in his family have continued. Whenever we all go camping to the West Country you can guarantee there is a tin of these hidden away to be eaten on windswept beaches or on a walk.

Photo 04-06-2016, 14 33 00.jpg
Photo 03-06-2016, 19 26 06.jpg
2009-02-26 15.57.31.jpg
2000-01-01 00.00.32.jpg

I think they are probably some form of Anzac biscuit; they certainly have oats, coconut and syrup in them, like an Anzac biscuit. They are a bit like a thin and ‘less worthy’ flapjack.

They were one of the first things my daughter learned to cook, standing aged 3 on a stool in the kitchen with her granny. When she was learning to write, she carefully wrote out the recipe and it’s that recipe that we all still work from 12 years on. It’s a bit splattered, but aren’t all the best recipes!

These are a super easy bake for kids and can be adapted to endless variations. I sometimes put in sultanas or cranberries, or chopped dried apricots. The children if they are making them without me often scatter some chocolate chips on top as soon as they are out of the oven. We sometimes half dip them in melted chocolate for an indulgent treat.

2020-03-28 15.45.53.jpg
Photo 30-04-2020, 13 04 50.jpg

To save you trying to decipher the recipe here it is. I am afraid with it being from Granny, it's in old money measurements.

INGREDIENTS

4oz plain flour

3 oz rolled oats (not jumbo)

1 oz desiccated coconut

4oz golden caster sugar

1tsp bicarbonate of soda dissolved in 1tbs hot water

Optional: a handful of raisins, sultanas, chopped apricots, dried cranberries, choc chips.

METHOD

Mix the oats, flour and coconut together in a bowl.

Melt the butter, sugar and syrup together and then mix in the oat mixture and the bicarb and water. Thoroughly mix together, then dollop dessert spoon size blobs onto a lined baking sheet. Spread them out well as they spread quite a lot when baking. Granny and Bella would say roll into walnut-sized balls but I just usually dob dessert spoon fulls!

Bake at about 180 degrees C, till golden. Leave for a couple of minutes in the tin to cool and set a little, then transfer to a wire rack to finish cooling.

crackers!

I am trying to wean myself off crisps! they're not very healthy, and they are just too tempting! I am not  a chocolate girl, but crisps on the other hand…………...

Anyway I found the recipe for these lovely crackers here on pinterest, they are from the lovely blog wholehearted eats  and an added bonus is they are GF so great for anyone avoiding wheat. They are a lovely combination of fruit seeds and nuts, and a really easy to make.

2 1/2 Cups Whole spelt flour
2 tsp. Baking soda
1 tsp. Baking powder 
1/2 tsp. Sea salt 
2 cups Unsweetened almond milk
1 tsp. Apple cider vinegar 
Tbsp. Maple syrup
1 Tbsp. Molasses
2 Tbsp. Chia seed
2 Tbsp. Ground flax seed 
1 Cup Dried unsweetened cranberries (or dried fruit of choice. Chopped if large)
1/2 Cup Walnuts (or nuts of choice)
1/2 Cup Toasted pumpkin seeds 
1/2 tsp. Ground black pepper 
2 Tbsp. Chopped fresh rosemary (or herb of choice) - optional

i amended the recipe to suit what i had available. i used normal milk in place of almond milk and i missed out the chia seeds, and I only used 3 tbs maple syrup. I also halved the recipe as i only had one loaf tin!

ix the wet ingredients in a jug and the dry ingredients in a bowl and then mix the 2 together.

Place the mixture in a loaf tin lined with silicone paper, and bake in a moderate oven for about 30mins till cooked through. 

Allow to cool overnight. slice into very thin slices and then rebake (as you would for cantucci) on a low setting till the crackers are crisp.

for a more detailed method click the link to the original recipe