As you know we don't normally like to bombard you with what is happening in the studio but in these extraordinary times if you are a newsletter subscriber we are planning to send you weekly bits and bobs (cuttings), in the hope of providing you with some uplifting, inspiring and creative ideas to help keep you and your family busy during the lockdown.
Expect interiors, craft projects, cooking, gardening and some creative inspiration for kids too...
First up is a little cushion project, accessible to everyone expert stitcher or novice needleworker! you can do it with basic bits of fabric you may have around or you can purchase a little kit here

I’m giving you some step by step instructions too: There are some step by step photos below too!
Decide what size your cushion is going to be, our kit ones are 30cm mini cushions.
Find a piece of fabric for the front that is the right size for your cushion pad. with a few cm extra, so in our case 32cm square.
Find some fabric to make the back, we are going to do this envelope style, so if you have a 30cm front, you need 2 pieces 32cm wide x 25cm long.
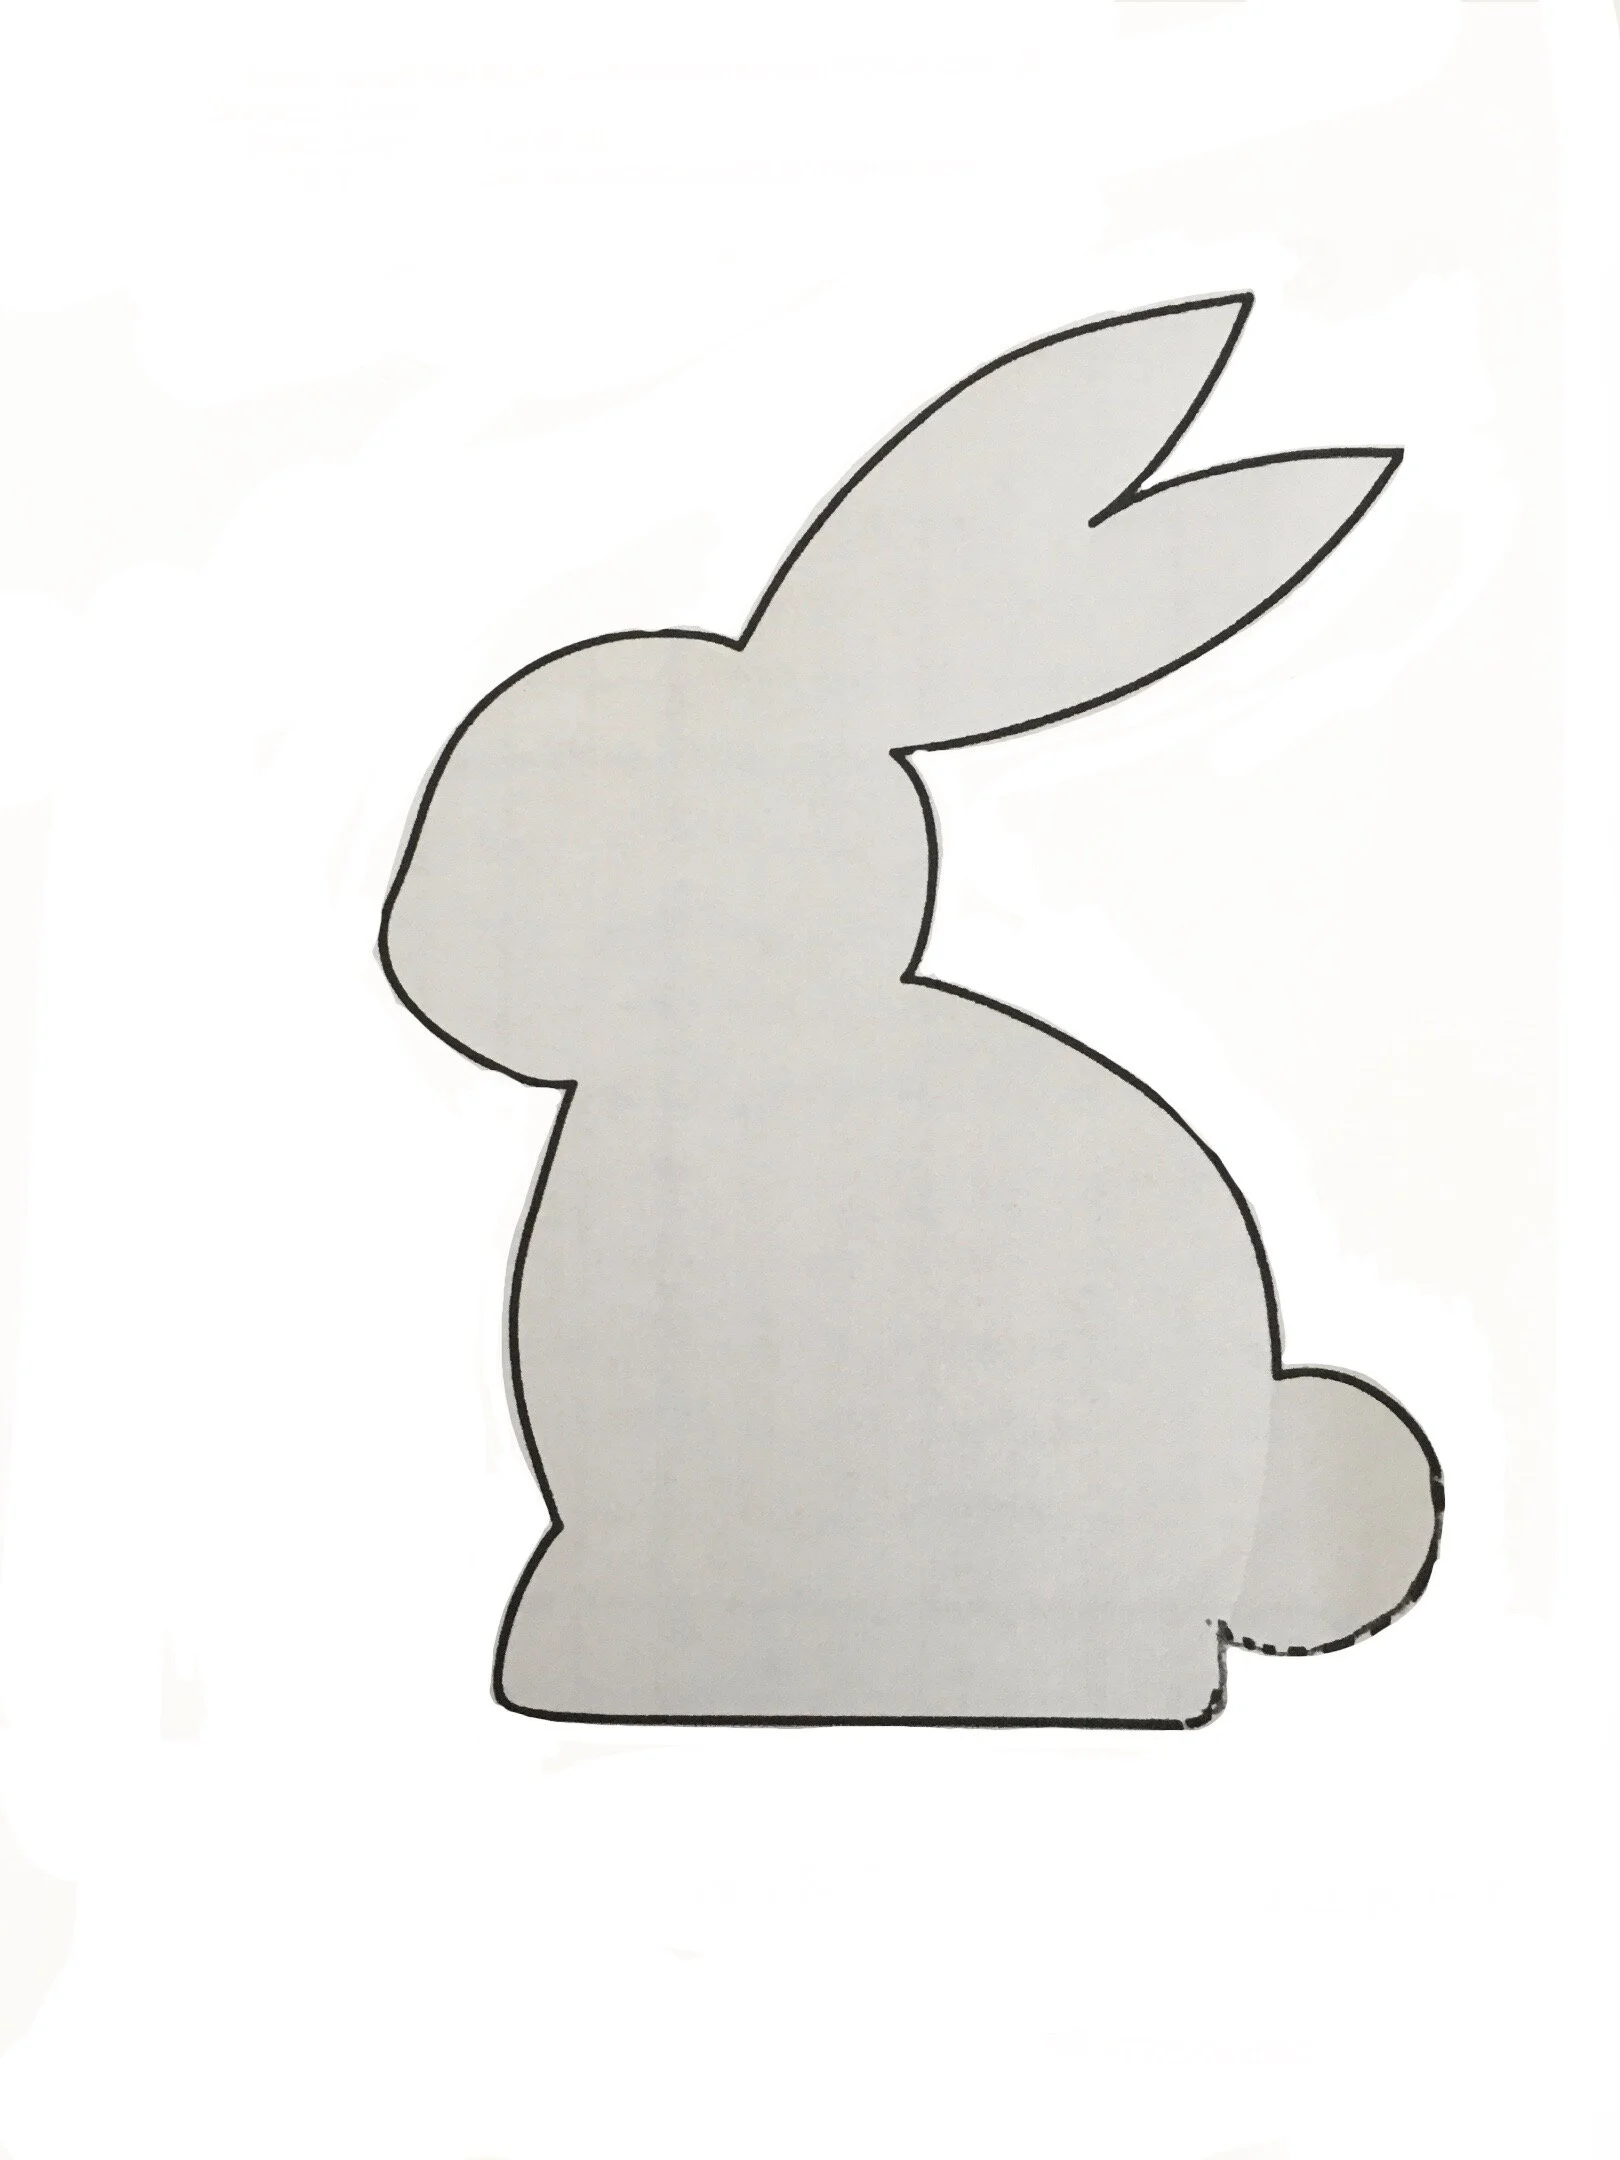
Find some fabric to make your bunny shape. There is a bunny template for you at the bottom of the page.
If you have any Bondaweb so much the better, if not don’t worry, we can do it just fine with some pins - but maybe don’t choose a fabric which frays a lot.
If you have Bondaweb iron it to the reverse of your bunny fabric and draw around your template on the paper side.
If you are doing this without Bondaweb, draw around your template on the reverse side of your fabric.
Very gently fold your cushion front into quarters to give you the approximate middle and lay it flat on the ironing board and put your bunny there and give it an iron, if you are using Bondaweb peel off your backing and iron it onto the middle to your face fabric.
If you are doing this without Bondaweb pin your bunny on carefully - put your pins perpendicular to the edge of your bunny so that you can sew over them easily.
Either with a sewing machine on a zig-zag stitch or by hand sew your bunny to the cushion front, you can also do this with a running stitch if you are doing it by hand or by stitching over the edge of the bunny.
Iron everything flat
Now its time to put the tail on! if you have a kit you will find a tiny pompom in there, if not, then an old button or a little round of fabric, will do just as well.
Double thread a needle and knot the end. Poke the needle from the underside up on the edge of your bunny bottom and stitch on your pompom or button. Do a few stitches to make it secure.
Now its time to make the back. We are making an envelope back here which is really easy. First you need to hem one of the long edges on each piece, its always good to do a double hem, so fold over about half a cm and press with a hot iron , then repeat again so you have a really neat crisp hem, stitch this down with a sewing machine - or by hand with running stitch, and repeat on the other piece. you should have 2 pieces with one long side with a hem and the other 3 sides rough edges.
With the bunny facing you cover it up wi the first piece of the backing , lining the bottom rough edge up with the bottom of your front and the hem should be above the middle of the bunny , now do the same at the top with the other piece of backing but this time with the hem facing downwards, so you have an overlap in the middle .
Pin the pieces together with the pins perpendicular to the edges so that you can stitch over the pins easily. And then turn your work over so the back of your bunny is on top.
Carefully and neatly with your bunny in the centre gently mark a square with a pencil the size of your cushion pad - if you are using the kit that would be 30cm . - don’t worry the pencil line will be inside so you won’t see it.
stitch over the line all the way around the edge and do a double stitch to finish .
trim the edges so you don’t have lots of excess fabric - but don’t get too close to your stitching - about half a cm to 1cm is fine, and then turn your cushion the right way round through the envelope opening .
press the cushion with a hot steam iron - taking case of the tail. TA DA ……YOU’VE MADE A CUSHION!

here is a bunny template for you to use , you can print it out , enlarge or reduce to fit your project.